Creating files and directories
You create directories with . In recursive mode, you are placed in this directory once it is created. If the directory already exists and if you are in recursive mode, you simply enter that directory.
Creating files is done in two steps. First, you prepare the writing with . Then, you write the data with . The length of the data to write must be identical between both function calls. There’s no need to «open» nor «close» the file, this is done automatically on the remote end. If the file already exists, it is overwritten and truncated.
The following example creates a new directory named «helloworld/», then creates a file named «helloworld.txt» in that directory:
int scp_helloworld(ssh_session session, ssh_scp scp)
{
int rc;
const char *helloworld = «Hello, world!\n»;
int length = strlen(helloworld);
rc = (scp, «helloworld», S_IRWXU);
if (rc != SSH_OK)
{
fprintf(stderr, «Can’t create remote directory: %s\n»,
(session));
return rc;
}
rc =
(scp, «helloworld.txt», length, S_IRUSR | S_IWUSR);
if (rc != SSH_OK)
{
fprintf(stderr, «Can’t open remote file: %s\n»,
(session));
return rc;
}
rc = (scp, helloworld, length);
if (rc != SSH_OK)
{
fprintf(stderr, «Can’t write to remote file: %s\n»,
(session));
return rc;
}
return SSH_OK;
}
Creating a Subsystem
The recommended method to create a subsystem for most users is to subclass the abstract class (Java, C++), as seen in the command-based template (Java, C++):
JavaC++
 7importedu.wpi.first.wpilibj2.command.CommandBase;
 8importedu.wpi.first.wpilibj2.command.SubsystemBase;
 9
10publicclass ExampleSubsystemextendsSubsystemBase{
11/** Creates a new ExampleSubsystem. */
12publicExampleSubsystem(){}
13
14/**
15   * Example command factory method.
16   *
17   * @return a command
18   */
19publicCommandBaseexampleMethodCommand(){
20// Inline construction of command goes here.
21// Subsystem::RunOnce implicitly requires `this` subsystem.
22returnrunOnce(
23()->{
24/* one-time action goes here */
25});
26}
27
28/**
29   * An example method querying a boolean state of the subsystem (for example, a digital sensor).
30   *
31   * @return value of some boolean subsystem state, such as a digital sensor.
32   */
33publicbooleanexampleCondition(){
34// Query some boolean state, such as a digital sensor.
35returnfalse;
36}
37
38@Override
39publicvoidperiodic(){
40// This method will be called once per scheduler run
41}
42
43@Override
44publicvoidsimulationPeriodic(){
45// This method will be called once per scheduler run during simulation
46}
47}
 5#pragma once
 6
 7#include<frc2/command/CommandPtr.h>
 8#include<frc2/command/SubsystemBase.h>
 9
10classExampleSubsystempublicfrc2::SubsystemBase{
11public
12ExampleSubsystem();
13
14/**
15   * Example command factory method.
16   */
17frc2::CommandPtrExampleMethodCommand();
18
19/**
20   * An example method querying a boolean state of the subsystem (for example, a
21   * digital sensor).
22   *
23   * @return value of some boolean subsystem state, such as a digital sensor.
24   */
25boolExampleCondition();
26
27/**
28   * Will be called periodically whenever the CommandScheduler runs.
29   */
30voidPeriodic()override;
31
32/**
33   * Will be called periodically whenever the CommandScheduler runs during
34   * simulation.
35   */
36voidSimulationPeriodic()override;
37
38private
39// Components (e.g. motor controllers and sensors) should generally be
40// declared private and exposed only through public methods.
41};
This class contains a few convenience features on top of the basic interface: it automatically calls the method in its constructor to register the subsystem with the scheduler (this is necessary for the method to be called when the scheduler runs), and also implements the interface so that it can be sent to the dashboard to display/log relevant status information.
Unregister or uninstall a Linux distribution
While Linux distributions can be installed through the Microsoft Store, they can’t be uninstalled through the store.
To unregister and uninstall a WSL distribution:
Replacing with the name of your targeted Linux distribution will unregister that distribution from WSL so it can be reinstalled or cleaned up. Caution: Once unregistered, all data, settings, and software associated with that distribution will be permanently lost. Reinstalling from the store will install a clean copy of the distribution. For example, would remove Ubuntu from the distributions available in WSL. Running will reveal that it is no longer listed.
You can also uninstall the Linux distribution app on your Windows machine just like any other store application. To reinstall, find the distribution in the Microsoft Store and select «Launch».
Opening and closing a SCP session
Like in the SFTP subsystem, you don’t handle the SSH channels directly. Instead, you open a «SCP session».
When you open your SCP session, you have to choose between read or write mode. You can’t do both in the same session. So you specify either SSH_SCP_READ or SSH_SCP_WRITE as the second parameter of function .
Another important mode flag for opening your SCP session is SSH_SCP_RECURSIVE. When you use SSH_SCP_RECURSIVE, you declare that you are willing to emulate the behaviour of «scp -r» command in your program, no matter it is for reading or for writing.
Once your session is created, you initialize it with . When you have finished transferring files, you terminate the SCP connection with . Finally, you can dispose the SCP connection with .
The example below does the maintenance work to open a SCP connection for writing in recursive mode:
int scp_write(ssh_session session)
{
ssh_scp scp;
int rc;
scp =
(session, SSH_SCP_WRITE | SSH_SCP_RECURSIVE, «.»);
if (scp == NULL)
{
fprintf(stderr, «Error allocating scp session: %s\n»,
(session));
return SSH_ERROR;
}
rc = (scp);
if (rc != SSH_OK)
{
fprintf(stderr, «Error initializing scp session: %s\n»,
(session));
(scp);
return rc;
}
…
(scp);
(scp);
return SSH_OK;
}
The example below shows how to open a connection to read a single file:
int scp_read(ssh_session session)
{
ssh_scp scp;
int rc;
scp =
(session, SSH_SCP_READ, «helloworld/helloworld.txt»);
if (scp == NULL)
{
fprintf(stderr, «Error allocating scp session: %s\n»,
(session));
return SSH_ERROR;
}
rc = (scp);
if (rc != SSH_OK)
{
fprintf(stderr, «Error initializing scp session: %s\n»,
(session));
(scp);
return rc;
}
…
(scp);
(scp);
return SSH_OK;
}
Periodic
Subsystems have a method that is called once every scheduler iteration (usually, once every 20 ms). This method is typically used for telemetry and other periodic actions that do not interfere with whatever command is requiring the subsystem.


JavaC++ (Header)C++ (Source)
117@Override
118publicvoidperiodic(){
119// Update the odometry in the periodic block
120m_odometry.update(
121Rotation2d.fromDegrees(getHeading()),
122m_leftEncoder.getDistance(),
123m_rightEncoder.getDistance());
124m_fieldSim.setRobotPose(getPose());
125}
30voidPeriodic()override;
30voidDriveSubsystem::Periodic(){
31// Implementation of subsystem periodic method goes here.
32m_odometry.Update(m_gyro.GetRotation2d(),
33units::meter_t{m_leftEncoder.GetDistance()},
34units::meter_t{m_rightEncoder.GetDistance()});
35m_fieldSim.SetRobotPose(m_odometry.GetPose());
36}
Default Commands
Note
In the C++ command-based library, the CommandScheduler owns the default command object.
“Default commands” are commands that run automatically whenever a subsystem is not being used by another command. This can be useful for “background” actions such as controlling the robot drive, or keeping an arm held at a setpoint.
Setting a default command for a subsystem is very easy; one simply calls , or, more simply, the method of the interface:
JavaC++
CommandScheduler.getInstance().setDefaultCommand(exampleSubsystem,exampleCommand);
CommandScheduler.GetInstance().SetDefaultCommand(exampleSubsystem,std::move(exampleCommand));
JavaC++
exampleSubsystem.setDefaultCommand(exampleCommand);
exampleSubsystem.SetDefaultCommand(std::move(exampleCommand));
Note
A command that is assigned as the default command for a subsystem must require that subsystem.
Reading files and directories
To receive files, you pull requests from the other side with . If this function returns SSH_SCP_REQUEST_NEWFILE, then you must get ready for the reception. You can get the size of the data to receive with and allocate a buffer accordingly. When you are ready, you accept the request with , then read the data with .
The following example receives a single file. The name of the file to receive has been given earlier, when the scp session was opened:
int scp_receive(ssh_session session, ssh_scp scp)
{
int rc;
int size, mode;
char *filename, *buffer;
rc = (scp);
if (rc != SSH_SCP_REQUEST_NEWFILE)
{
fprintf(stderr, «Error receiving information about file: %s\n»,
(session));
return SSH_ERROR;
}
size = (scp);
filename = strdup((scp));
mode = (scp);
printf(«Receiving file %s, size %d, permissions 0%o\n»,
filename, size, mode);
free(filename);
buffer = malloc(size);
if (buffer == NULL)
{
fprintf(stderr, «Memory allocation error\n»);
return SSH_ERROR;
}
(scp);
rc = (scp, buffer, size);
if (rc == SSH_ERROR)
{
fprintf(stderr, «Error receiving file data: %s\n»,
(session));
free(buffer);
return rc;
}
printf(«Done\n»);
write(1, buffer, size);
free(buffer);
rc = (scp);
if (rc != SSH_SCP_REQUEST_EOF)
{
fprintf(stderr, «Unexpected request: %s\n»,
(session));
return SSH_ERROR;
}
return SSH_OK;
}
In this example, since we just requested a single file, we expect ssh_scp_request() to return SSH_SCP_REQUEST_NEWFILE first, then SSH_SCP_REQUEST_EOF. That’s quite a naive approach; for example, the remote server might send a warning as well (return code SSH_SCP_REQUEST_WARNING) and the example would fail. A more comprehensive reception program would receive the requests in a loop and analyze them carefully until SSH_SCP_REQUEST_EOF has been received.
Description
creates a subsystem and moves the specified blocks into it. All of the specified blocks must
originally reside in the same block diagram.
If any of the blocks have unconnected ports, the function creates and connects
Inport and Outport blocks to them inside the
subsystem.
If any of the blocks are input or output port blocks, the function creates
Inport and Outport blocks in the parent system to connect to
the corresponding ports on the new Subsystem block.
replaces the currently
selected blocks with a new subsystem that contains those blocks.
specifies options using one or more name-value pair arguments in addition to the input
arguments in previous syntaxes. For example, names
the new subsystem .
Examples
Create Subsystem from Model
Open Live Script
Open or load the example model.
CreateSubsystemModel
Get the block handles for all blocks at the top level of the model by using the function.
bh = Simulink.findBlocks('CreateSubsystemModel');
Replace the contents of the model with a subsystem that contains the model contents.
Simulink.BlockDiagram.createSubsystem(bh);
Create Named Subsystem from Model
Open Live Script
Open or load the example model.
CreateSubsystemModel
Get the block handles for all blocks at the top level of the model by using the function.
bh = Simulink.findBlocks('CreateSubsystemModel');
Replace the contents of the model with a subsystem named that contains the model contents.
Simulink.BlockDiagram.createSubsystem(bh,'Name','ss1');
Input Arguments
— Block handlesnumeric array
Block handles, specified as a numeric array. To get block handles, use the or functions.


Data Types:
Specify optional pairs of arguments as
, where is
the argument name and is the corresponding value.
Name-value arguments must appear after other arguments, but the order of the
pairs does not matter.
Before R2021a, use commas to separate each name and value, and enclose
in quotes.
Example:
— Name of new subsystemcharacter vector | string scalar
Name of the new subsystem, specified as the comma-separated pair consisting of
and a character vector or string scalar.
Data Types: |
— Option to make subsystem name unique (default) |
Option to make the subsystem name unique, specified as the comma-separated pair
consisting of and or
.
If the value that you specify for is already used in the diagram:
-
— Uses the next available increment of the name. For
example, if is set to
and the diagram already contains a block named ,
the function names the new subsystem . -
— Returns an error.
To use this parameter, specify a value for the
argument.
Data Types: |
Introduced in R2009a
Related terms[]
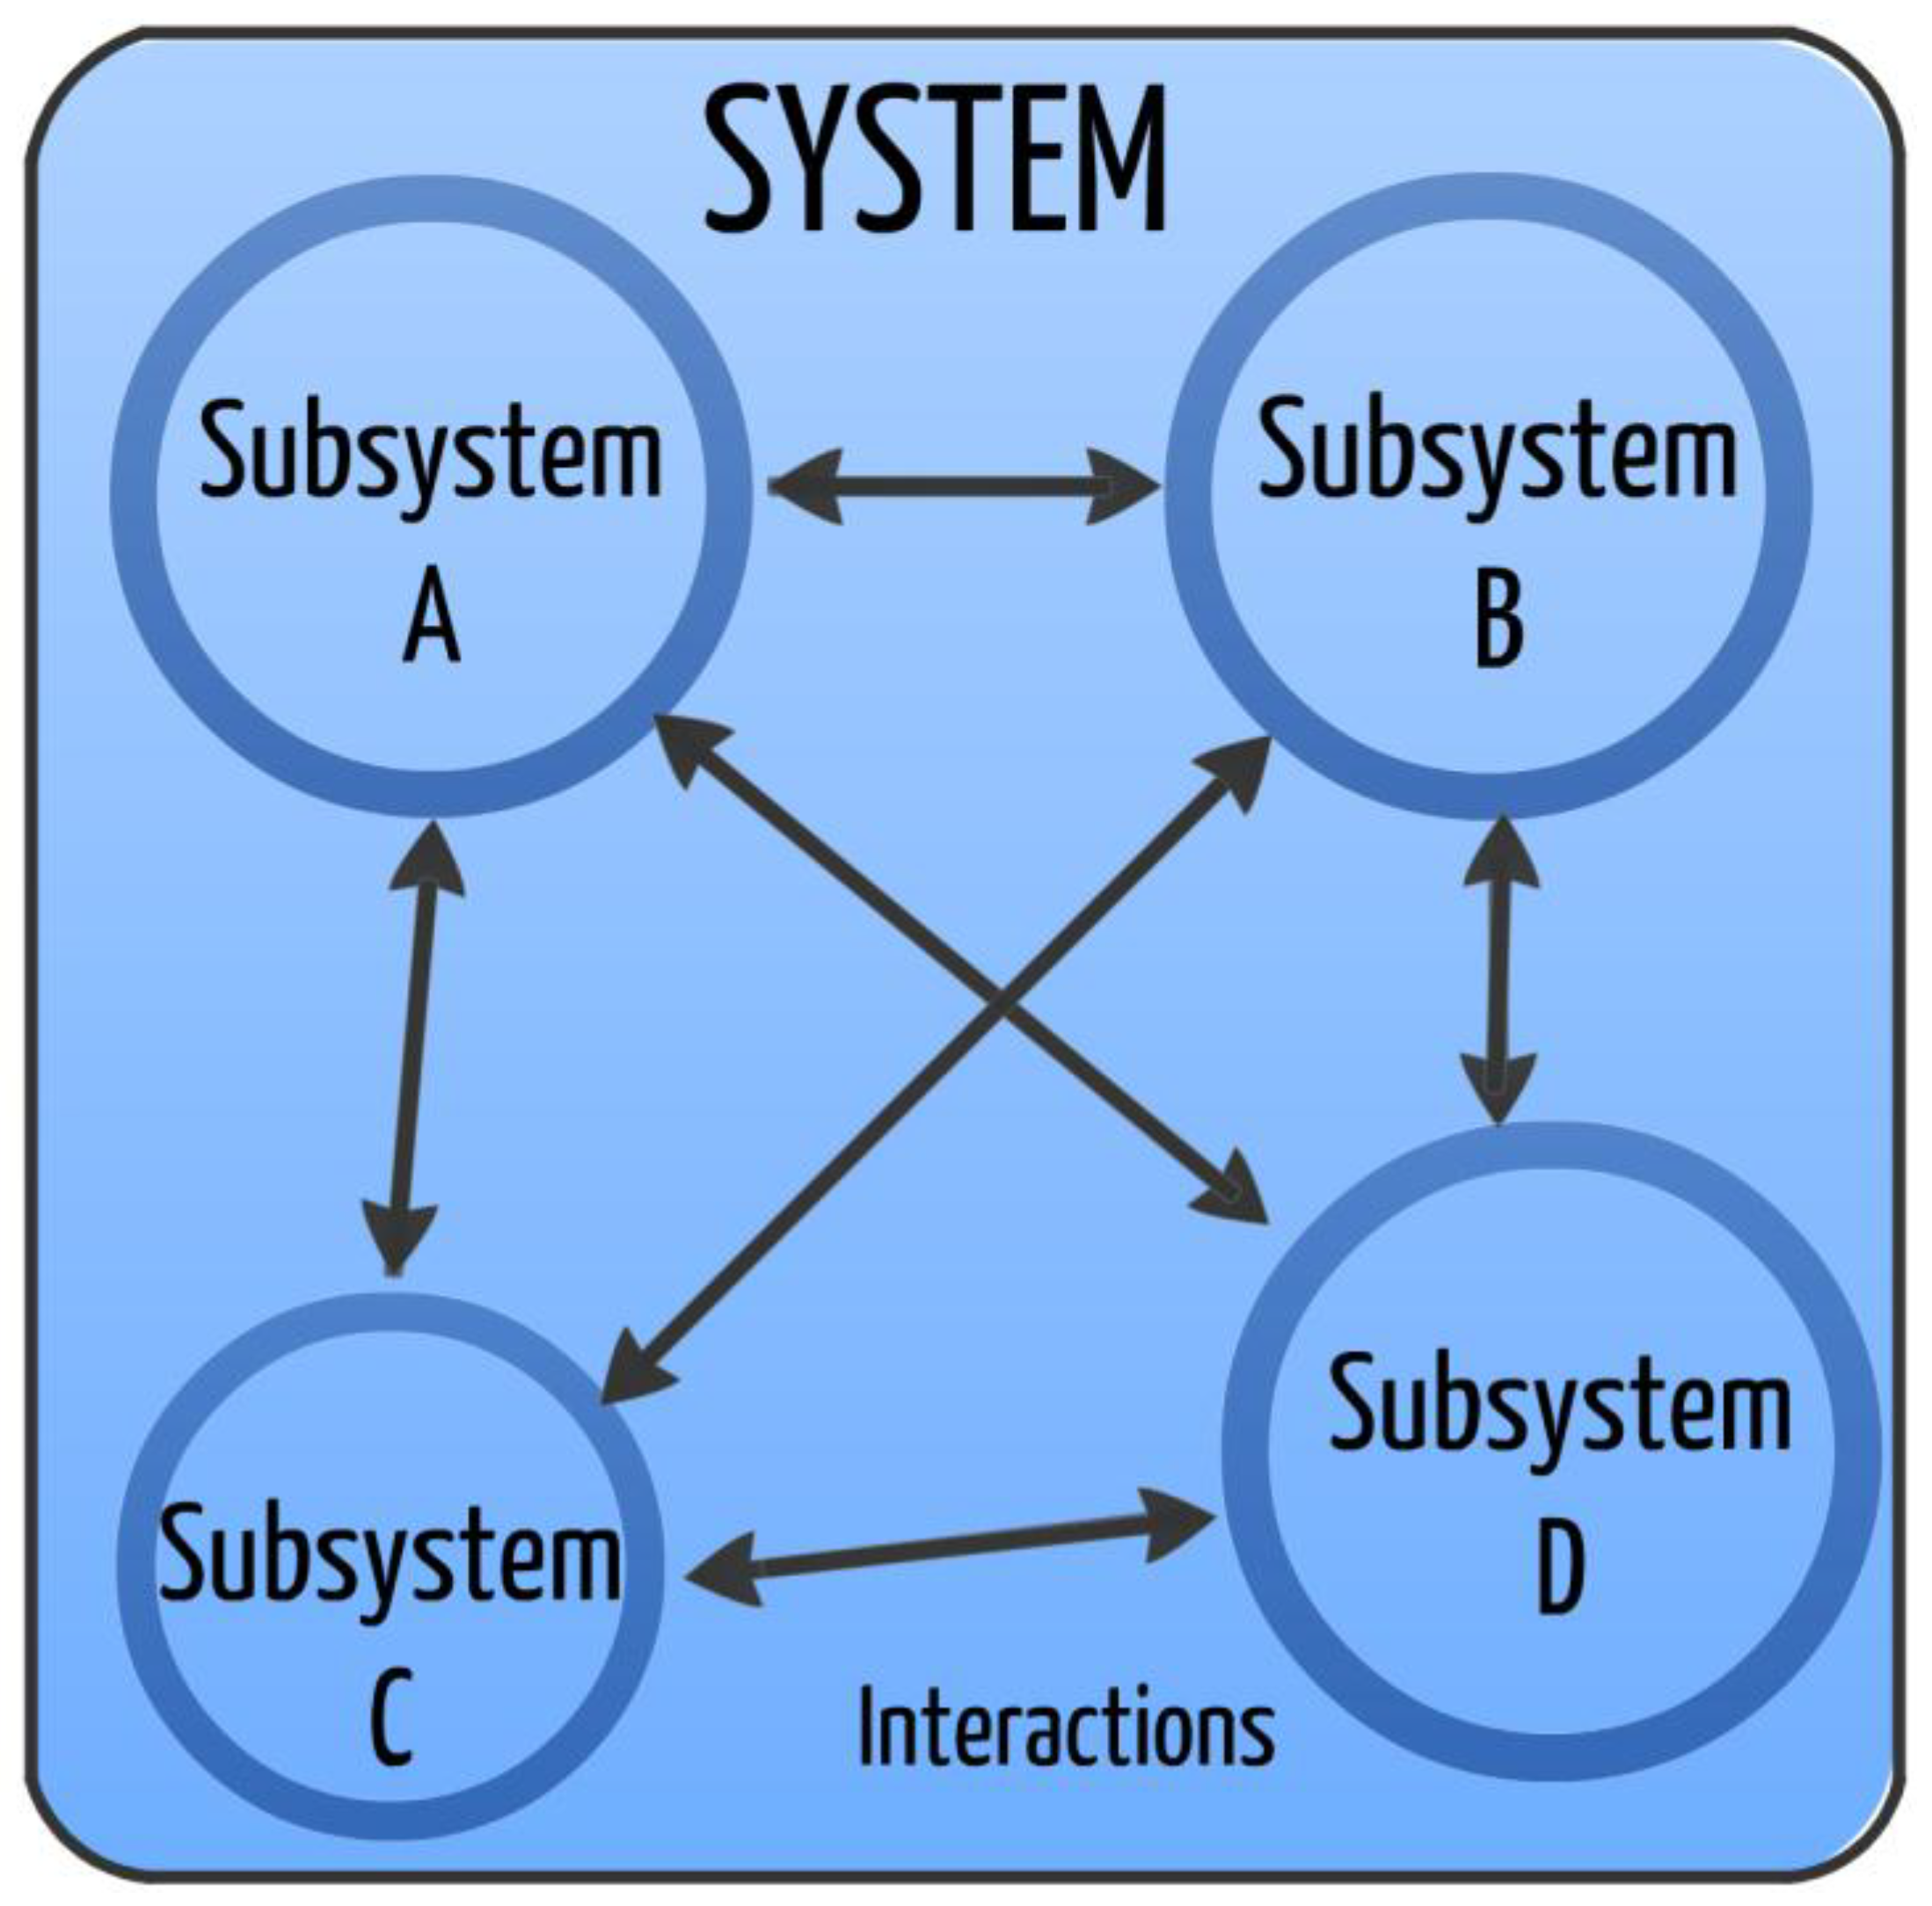
There are many community terms that have been coined for different types of subsystems:
- Container Subsystem: A subsystem that shares a body inside headspace. Coined by Jelen of Kairos Court^The Temenē Alliance. An alternative DID/OSDD-1 exclusive term for this type of of subsystem is contained subsystem, coined by multiplemogai.
- Separated Subsystem: A subsystem that does not share a body inside headspace, but is otherwise connected to each other and not the rest of the system for various reasons. Coined by Jelen of Kairos Court^The Temenē Alliance. An alternative DID/OSDD-1 exclusive term for this type of subsystem is bordered subsystem, coined by multiplemogai.
- Semi-Separated Subsystem: A subsystem that optionally shares a body inside headspace that members are able to travel out of into the rest of the system. Coined by Shooting Star Collective.
- Disconnected Subsystem: A subsystem which has very high dissociative barriers to all other subsystems. Coined by multiplemogai, and exclusive to DID/OSDD-1 systems.
- Base Subsystem: Coined by multiplemogai, and exclusive to DID/OSDD-1 systems. A subsystem which seems to act as the “base” to the other subsystems in a person’s system. This subsystem tends to:
- be linked to or overlapping with most, if not all other subsystems within a person’s system
- be the largest subsystem in a person’s system (due to more alters splitting within it)
- contain the host or commonly fronting alters
- Floating Subsystem: A subsystem in which its dissociative barriers to other subsystems seem to rise and fall. If other subsystems are viewed as stationary, this subsystem would be fluid and moving. A subsystem of floaters. Coined by multiplemogai, and exclusive to DID/OSDD-1 systems.
- Stacked Subsystem: A subsystem within a subsystem. This may refer to overlapping subsystems or subsystems fully contained within one another. Coined by multiplemogai, and exclusive to DID/OSDD-1 systems. A non-exclusive version of this term is Nested Subsystem. The headspace of a nested subsystem can be referred to as nested subspace, coined by Shooting Star Collective.
- Flicker Subsystem: A subsystem that goes between being a subsystem and not being a subsystem. Coined by plurgai.
- Ringed Subsystem: A subsystem with a core identity and a «ring» of differences applied to the core identity. Coined by The Indigo Orrery.
- Chariklo Subsystem: A type of Ringed Subsystem where the ring mixes in with the core identities’ kintypes, causing each orbiting difference in the ring to hold a kintype. Coined by plurgai.
- Haumea Subsystem: A type of Ringed Subsystem where the ring mixes in with the core identities genders, causing each orbiting difference in the ring to hold a gender. Coined by plurgai.
- Chiron Subsystem: A type of Ringed Subsystem where there are two or more rotating rings of differences, which causes every fronting member of the system to look different. Coined by plurgai.
- Intrasinglet: A member of a system who is not a part of a subsystem. Coined by Petrichor Voices.
Subsystem flag by not-your-introsource
Simplified subsystem flag by not-your-introsource
Contained subsystem flag by multiplemogai
Bordered subsystem flag by multiplemogai
Disconnected subsystem flag by multiplemogai
Floating subsystem flag by multiplemogai
Base subsystem flag by multiplemogai
Stacked subsystem flag by multiplemogai
Mount a disk or device
Attach and mount a physical disk in all WSL2 distributions by replacing with the directory\file path where the disk is located. See Mount a Linux disk in WSL 2. Options include:
- : Specifies that refers to a virtual hard disk.
- : Mount the disk using a custom name for the mountpoint
- : Attach the disk to WSL2, but don’t mount it.
- : Filesystem type to use when mounting a disk, if not specified defaults to ext4. This command can also be entered as: .You can detect the filesystem type using the command: , for example: .
- : Index number of the partition to mount, if not specified defaults to the whole disk.
- : There are some filesystem-specific options that can be included when mounting a disk. For example, ext4 mount options like: or . However, only filesystem-specific options are supported at this time. Generic options, such as , , or , are not supported.
Note
If you’re running a 32-bit process in order to access wsl.exe (a 64-bit tool), you may need to run the command in the following manner: .
Подсистема проектирования бюджета
- Основная информация
- Часто задаваемые вопросы
| № | Наименование | Дата публикации | |
|---|---|---|---|
| 1 | Руководство по установке Проект-СМАРТ.docxРуководство по установке и настройке клиентского приложения «Проект-СМАРТ Про» | 2020-6-3 | Загрузить |
| 2 | Настройка клиенсткой части ПК «Хранилище-КС» для областных учреждений | 2023-5-30 | Загрузить |
| 3 | Настройка клиентской части ПК «Хранилище-КС» для муниципальных учреждений | 2023-5-30 | Загрузить |
| № | Наименование | Дата публикации | |
|---|---|---|---|
| 1 | Инструкция «Целевые статьи расходов» Руководство пользователя по работе с целевыми статьями в ПК «Хранилище-КС» (региональных и муниципальных учреждений) | 2021-7-26 | Загрузить |
| 2 | инструкция РРО — ОБЛИнструкция по заполнению Реестра расходных обязательств для областных учреждений | 2019-9-24 | Загрузить |
| 3 | инструкция РРО — МОИнструкция по заполнению Реестра расходных обязательств для муниципальных учреждений | 2019-9-24 | Загрузить |
| 4 | Руководство пользователя «Проектирование бюджета»Руководство пользователя «Проектирование бюджета» в ПК «Хранилище-КС» | 2019-9-24 | Загрузить |
| 5 | Инструкция по Реестру поправокИнструкция по внесению уточнения к Бюджету | 2021-10-27 | Загрузить |
| № | Наименование | Дата публикации | |
|---|---|---|---|
| 1 | Лимиты бюджетных обязательств и Бюджетная роспись (изменения)Памятка по работе с документами лимиты бюджетных обязательств и бюджетная роспись (изменения) | 2023-2-21 | Загрузить |
| 2 | Лимиты бюджетных обязательств и бюджетная росписьПамятка по работе с документами лимиты бюджетных обязательств и бюджетная роспись | 2022-12-28 | Загрузить |
| 3 | Мониторинг АИП. Планирование кассового исполнения (форма 5)Памятка по заполнению планового кассового исполнения АИП в модуле «Мониторинг АИП» | 2022-8-1 | Загрузить |
| 4 | Предложение по изменению СБРПамятка по заполнению документа «Предложение по изменению СБР» | 2023-5-19 | Загрузить |
| 5 | Бюджетная роспись и Сводная бюджетная росписьПамятка по внесению изменений в БР и СБР | 2022-2-2 | Загрузить |
| 6 | Обоснования бюджетных ассигнованийПамятка по работе с модулем Обоснования бюджетных ассигнований | 2021-9-10 | Загрузить |
| 7 | Обоснование бюджетных ассигнованийРуководство пользователя по вводу информации в расчеты Фонд оплаты труда и Иные выплаты персоналу | 2021-8-9 | Загрузить |
| 8 | Реестр расходных обязательств бюджетного цикла 2023-2025Реестр расходных обязательств бюджетного цикла 2023-2025 | 2022-8-29 | Загрузить |
| 9 | Реестр мер социальной защиты (поддержки)памятка по работе с документом Реестр мер социальной защиты (поддержки) | 2021-9-3 | Загрузить |
| 10 | Реестр расходных обязательствПамятка по работе с документом Реестр расходных обязательств | 2023-4-10 | Загрузить |
| 11 | Лучшие муниципальные практики для финансового органа субъектаРуководство пользователя по работе с модулем Лучшие муниципальные практики для финансового органа субъекта | 2021-6-16 | Загрузить |
| 12 | Лучшие муниципальные практикиРуководство пользователя по работе с модулем «Лучшие муниципальные практики» | 2020-3-18 | Загрузить |
| 13 | инструкция по работе с функциональной ролью ФР:Прогноз (обоснование) доходовИнструкция для Главных администраторов доходов | 2021-6-10 | Загрузить |
| 14 | Инструкция по вводу информации в модуле АИПИнструкция по вводу информации в подсистему проектирования бюджета при формировании адресной инвестиционной программы Сахалинской области | 2021-5-31 | Загрузить |
| 15 | Руководство пользователя по работе с модулем «АИП» | 2020-7-3 | Загрузить |
| 16 | Региональный перечень государственных (муниципальных) услугВидеозапись вебинара посвященного работе с модулем «Региональный перечень государственных (муниципальных) услуг» | 2020-6-23 | Загрузить |
| 17 | Памятка по работе с документом «Региональный перечень услуг, работ по видам деятельности»Памятка по работе с документом «Региональный перечень услуг, работ по видам деятельности» для специалистов министерства финансов | 2021-8-10 | Загрузить |
Install
Install WSL and the default Ubuntu distribution of Linux. Learn more. You can also use this command to install additional Linux distributions by running . For a valid list of distribution names, run .
Options include:
- : Specify the Linux distribution to install. You can find available distributions by running .
- : Install the Linux distribution but do not launch it automatically.
- : Install from an online source rather than using the Microsoft Store.
When WSL is not installed options include:
- : Installs WSL using the Windows component instead of using the Microsoft Store. (WSL updates will be received via Windows updates, rather than pushed out as-available via the store).
- : Enables WSL 1 during the install of the Microsoft Store version of WSL by also enabling the «Windows Subsystem for Linux» optional component.
- : Do not install a distribution when installing WSL.
Note
If you running WSL on Windows 10 or an older version, you may need to include the flag with the command to specify a distribution: .